
I’ve you’ve been hanging around the WordPress world for a while, you’ve probably heard it said that a child theme is a must. Well, I’m going to join the choir and tell you that it’s almost essential if you are going to make custom changes to your site. While Divi itself has a Custom CSS field at the bottom of the General tab of the Theme Options panel, it simply won’t cut it if you have a number of custom CSS changes you want to make. It also doesn’t offer the ability to modify the functionality of the parent theme.
Why Use a Child Theme
A child theme allows you to overwrite or extend the look and or functionality of the parent theme (the actual theme used on the site) and preserves these changes even when the theme is updated. At the core of a child theme are two files, a style.css file and a functions.php file. The style.css file lets you customise the look and feel of the site whereas, the functions.php file lets you extend the functionality of the parent theme. If you browse around this site, you’ll soon find that many of the tutorials encourage you to apply the given changes to the child theme.
As I mentioned earlier, one of the purposes of a child theme is to preserve custom changes. The reason for this is that when you update a theme, any changes you’ve made the theme’s own files will be lost when the update replaces the files with new versions. By separating the child theme from the parent, the changes you make to the child are safe and won’t be lost when you update the parent theme.
If you’d like a detailed explanation of when you need to use a child theme (and when you don’t need one), our friends over at Divi Life have an excellent. We recommend taking a look at their detailed Divi Child Theme guide.
Let’s Build a Child Theme for Divi
I know it might sound a little daunting at first, but creating a child theme for Divi is really easy. In just a few simple steps you’ll have you child theme ready and rearing to go.
Step 1 – Create a Folder for your Child Theme
We begin by creating a folder. The best practice naming convention is normally themename-child so in our case we’ll call it divi-child. This folder is where you will put the files we’re about to create in the next couple of steps.
Step 2 – Create a style.css file
The second step requires that you create a text file called style.css. Remember to change the file extension from txt to css when you save the file. This file will contain all the rules and declarations that will add to or overwrite the original look and feel of the theme.
What is required in this file is a brief declaration of the child theme’s name as well as the name of the parent theme. This declaration is placed at the very top of the file.
Of all this information, the only two that are required are Theme Name and Template. The theme name must simply be the unique name of your child theme and template needs to define the name of the folder that the parent theme is found in. In our scenario, I’ve named the theme Divi Child and the template Divi as that’s the name of the folder holding the parent theme’s files.
Step 3 – Create a functions.php file
This file is necessary to enqueue styles correctly.
This file is again added the folder we made in step 1.
Step 4 – Add a graphic to the folder
This is the graphic WordPress will use as the thumbnail for your child theme.
The recommended dimensions for this image are 1200px wide by 900px high and should preferably be saved as a PNG although jpg, jpeg, and gif are also valid extensions.
Step 5 – Zip the Folder
Now that you’ve got the three files (style.css, functions.php, and screenshot.png) in the folder, the last step you need to do before you can use the child theme is to zip the folder.
In case you don’t have the time to do all this, I’ve made the zipped Divi Child theme file available for download.
Step 6 – Upload, Install & Activate
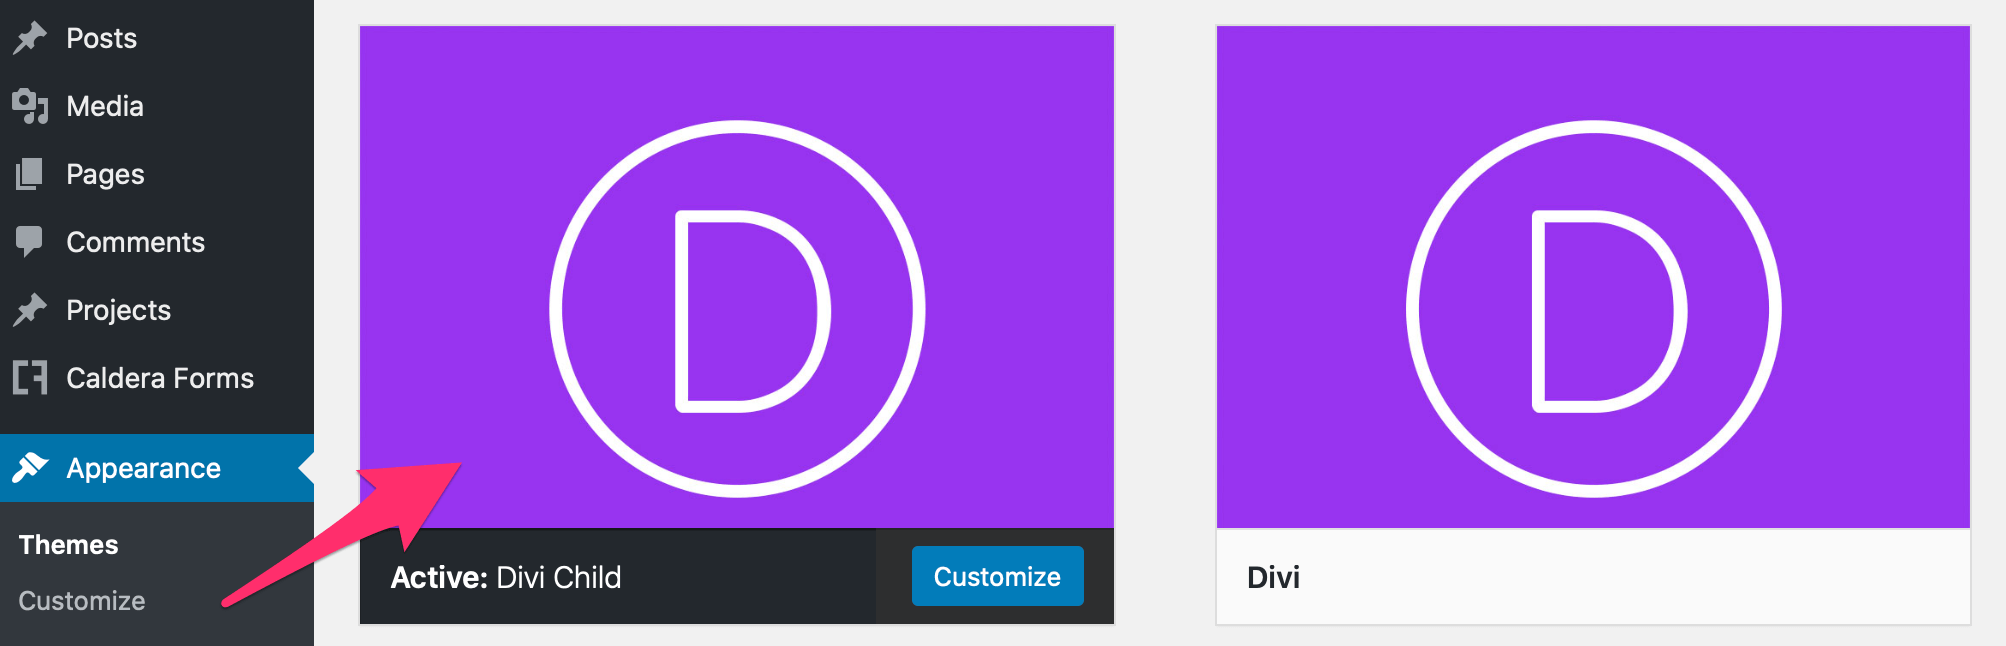
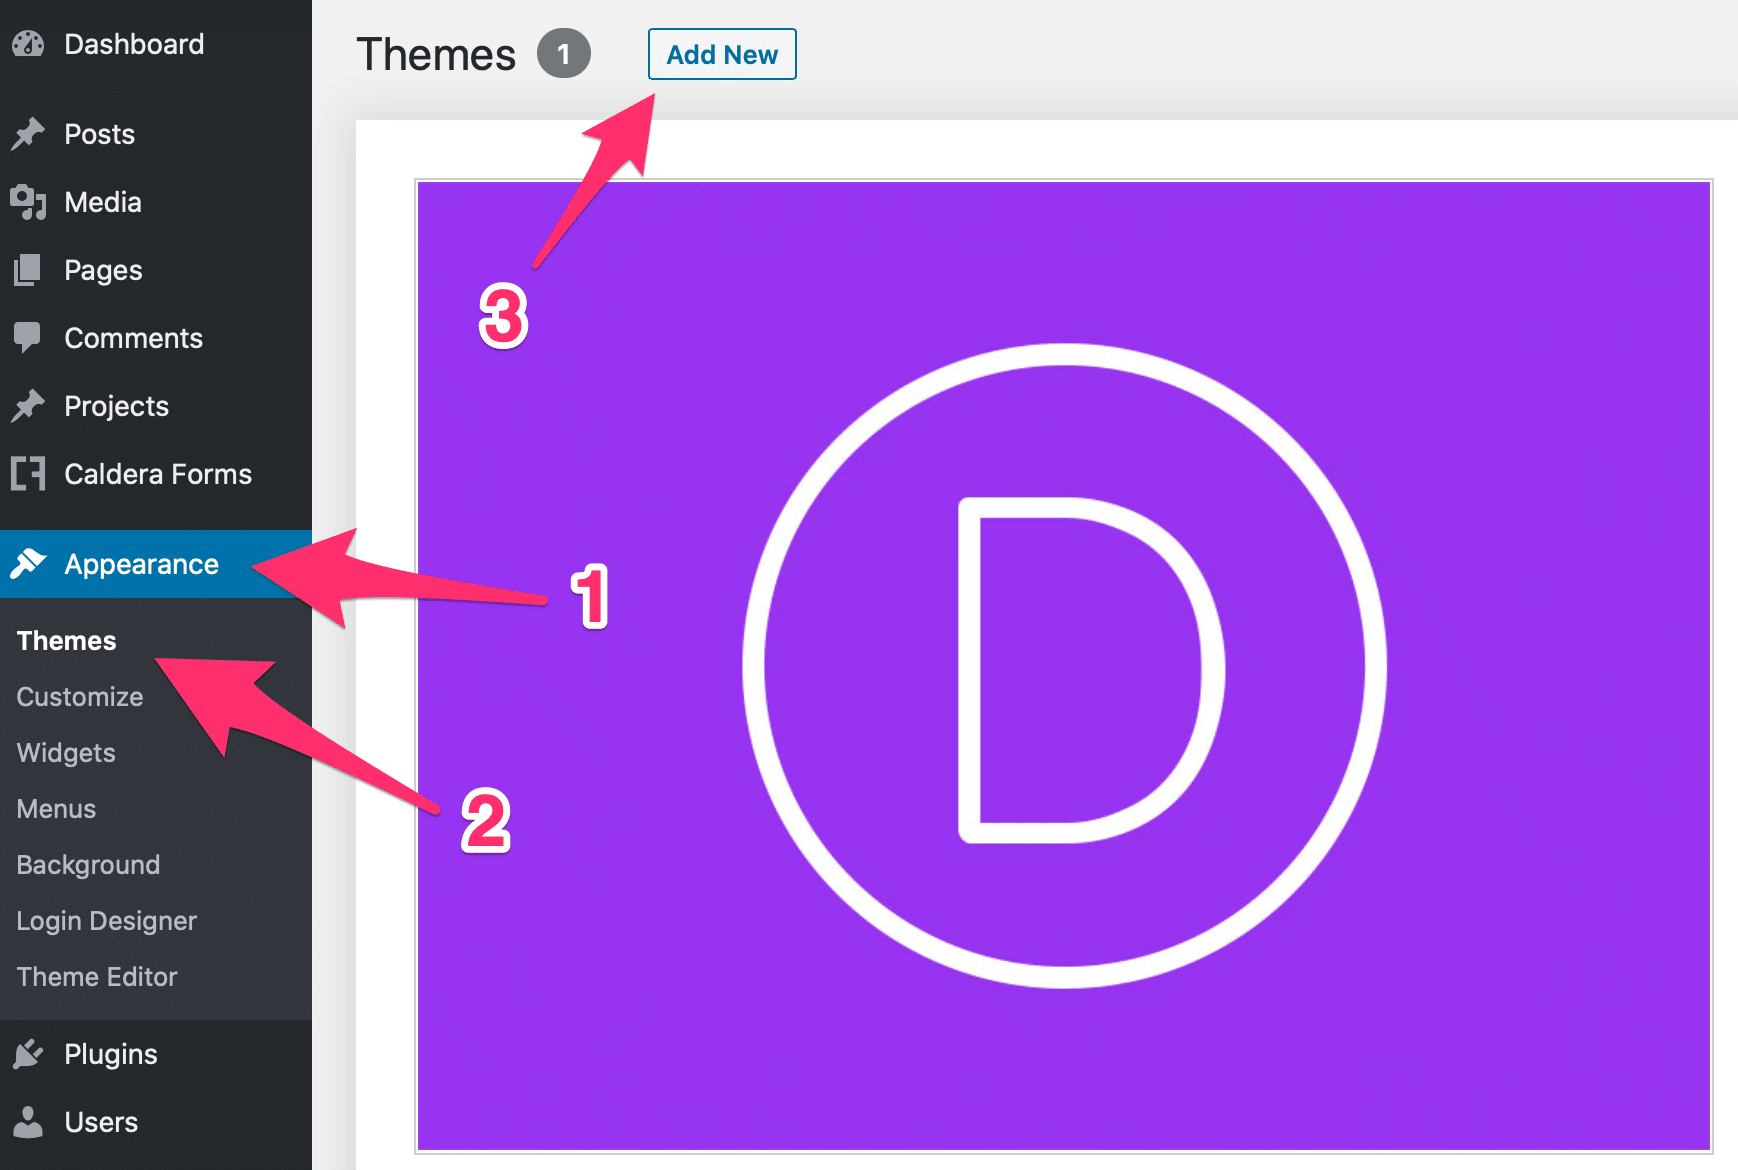
Now that you’ve brought all the components of a child theme together, the only thing left to do now is to use it. This is as easy as navigating to the Dashboard, clicking on Appearance and then following the prompts to upload, install, and activate the child theme. At this point, you obviously need Divi installed otherwise WordPress will complain that it hasn’t found the parent of your child theme.
Wrapping it Up
And there you have it. Creating a child theme is really not that difficult. Go ahead and give it a try or if you prefer, download the Divi Child Theme I built for this tutorial.
Lastly, this tutorial is for creating a Divi Child Theme in order to safely customize your parent theme. If you’d like to use a child theme as a completed website template, take a look at the Premium Divi Child Themes over at Divi Life. Premium Divi Child Themes are essentially completed website templates that will allow you to quickly jumpstart a web project instead of designing from scratch.
Divi Notes started as a way to document my own WordPress and Divi web design/development journey and, to my delight, has grown to become a helpful resource to many other Divi users out there. If you’ve found Divi Notes to be useful in your journey, I’d appreciate it if you would consider supporting me using the form below.


I’m curious. There is a line in the divi functions on line 79 remove_action that I must always change to add_action( ‘woocommerce_after_shop_loop_item’, ‘woocommerce_template_loop_add_to_cart’, 10 );
Will this be included in the child theme functions file? Or should the entire edited divi functions file be part of the child theme?
Hi Theo. You should just add the functions that you need to modify or add to the child theme’s functions.php file. The official WordPress documentation expressly says that you mustn’t include the entire contents of the parent theme’s functions.php file.
Hope that helps, and thanks for visiting DiviNotes.com
Super usefull! We also recommend child themes for our clients, it a great way to make sure that updates will be done correctly.