

Wouldn’t it be great if you could kickstart every website project and shave an hour or two off your setup time with a super quick way of installing WordPress, your regular theme, and all the plugins you’d normally install with just a few clicks? Well, in this article, I’m going to show you how easy it is to create a “starter pack”, and get it up and running on your next project. A starter pack is something like a blueprint, a template consisting of the essentials that most of the sites you build should have.
Please note, this tutorial is about speeding up your development process, and not speeding up your website itself. If you’d like to learn more about speeding up your Divi website, take a look at the performance optimization guide from Divi Life.
Step 1: Create A Starter Site
To begin with, you need a starter website that you will use as the foundation of future sites. In this step, you need to do the following:
- Install WordPress,
- Configure the basics like:
- Site Language & Timezone,
- Search Engine Visibility – Discourage search engines from indexing this site (don’t forget to undo this on your live site),
- Permalinks
- Install your chosen theme,
- Install the common plugins that you use on all your sites.
If you use more than one theme (my default, as you might have guessed, is Divi by Elegant Themes), you might want to create one starter pack per theme.
In terms of where to do this, there are a number of options. You could do it on your PC, online in a subdomain, or on a free online hosting environment like Pilvia.com. You can read more about your options in my post called The Easiest Way To Move a WordPress Site From A Development Environment to Live.
Step 2: Install The Duplicator Plugin
Now that you’ve got the basic core of your future sites done, install the Duplicator plugin. As you’ll see, Duplicator is a really easy tool to use. Duplicator gives WordPress users the ability to easily clone a site from one location to another.
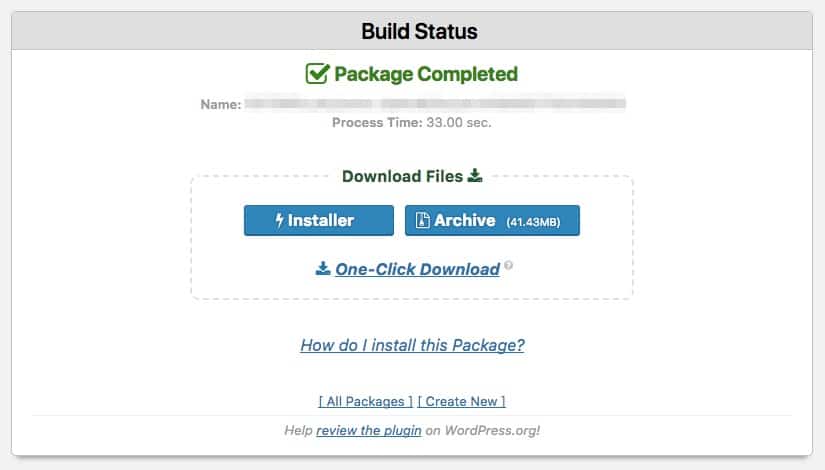
Step 3: Create & Download A Package With Duplicator
Before you create the package, make sure your starter site is up-to-date. This isn’t essential, but it’ll save you having to do it on the new site. Duplicator has a really easy to follow wizard that will create a package which you will then need to download.
Step 4: Upload & Install the Package
Okay, you’ve download your installer packages (the installer file and the archive) and now it’s time to upload these two files to the destination hosting environment using your favorite FTP tool. Now, on the destination hosting account, you need to create an empty database for your new site (make a note of the database name, username, and password). Once that’s all done, fire up your favorite browser and browse to the installer file. The URL will look something like this: http://mynewsite.com/installer.php
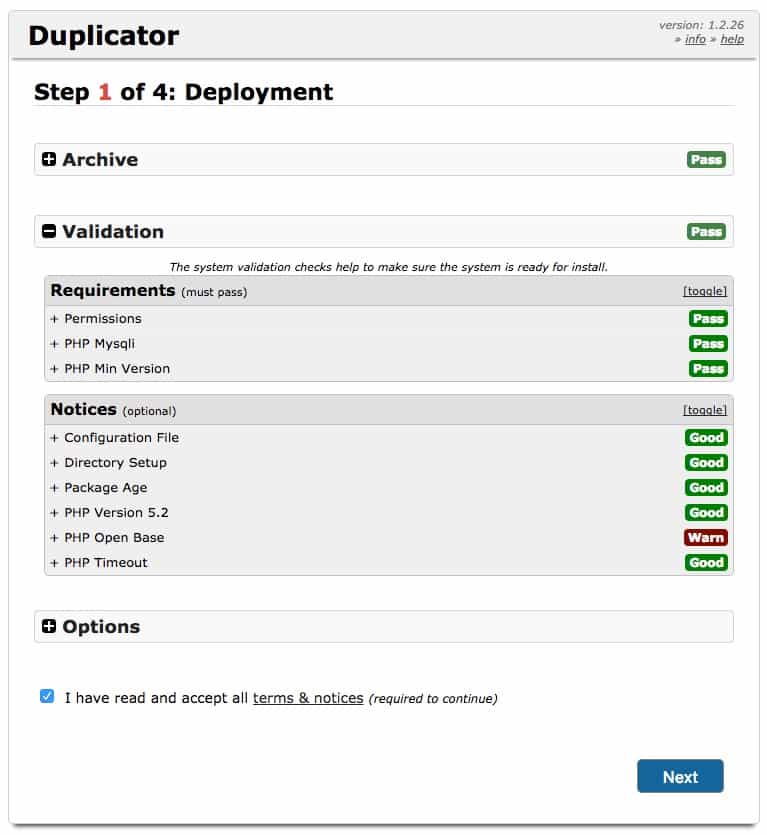
Follow the wizard and make any changes that might be necessary. By the end of this wizard, if everything went well, you’ll be able to login into the website on the destination server and everything should be pretty much as it was on the old site. All that’s left to do now it to delete the installer files but even than is easy because the plugin prompts you to do that once you’ve logged into the newly installed site.
Here is the official video from the maker of this plugin showing you in two and a half minutes how easy it is to use this plugin.
Wrapping It Up
And there you have it, a really neat way to kickstart and accelerate your website development workflow.
Photo by Christian Joudrey on Unsplash


Trackbacks/Pingbacks