
You know those sites that let you see a product in different colors as you click on a thumbnail of that product in a different color or material? Well, in this tutorial I’m going to show you how to do exactly that with a little HTML, CSS, and JavaScript. It’s the kind of functionality you get on a new car website where you can choose to see the car of your dreams in the different colors it’s available in or, on a clothing store site that lets you see a garment in the various colors or fabric it’s available in.
Credit for this tutorial goes partly to this tutorial: Showing A Larger Image From A Thumbnail OnClick Via JavaScript / DOM Revisited as well as a fellow designer who asked the question on one of the Facebook groups I’m a member of.
The Example
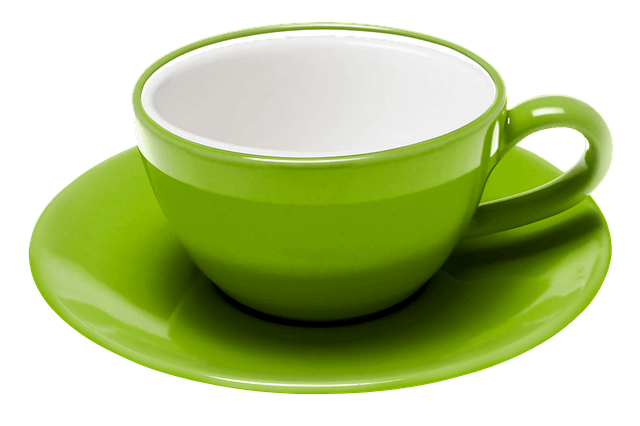
In the following example you’ll see that as you click on one of the thumbnails, the primary image on the left changes accordingly. You’ll also notice that your pointer (if you’re on a device that displays a pointer) changes as you hover over the thumbnail.
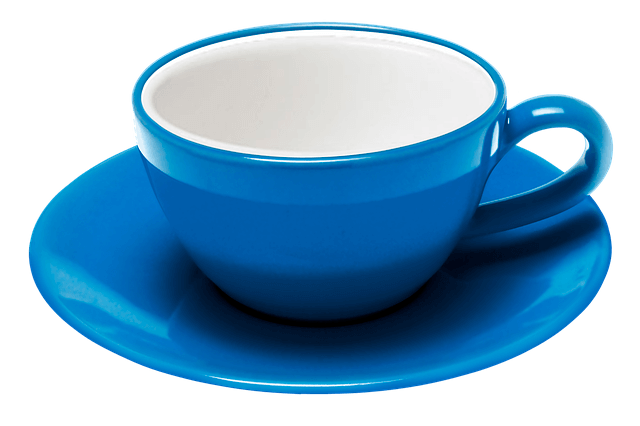
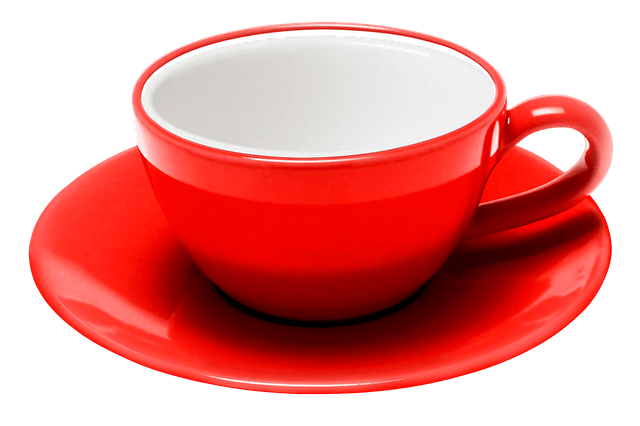
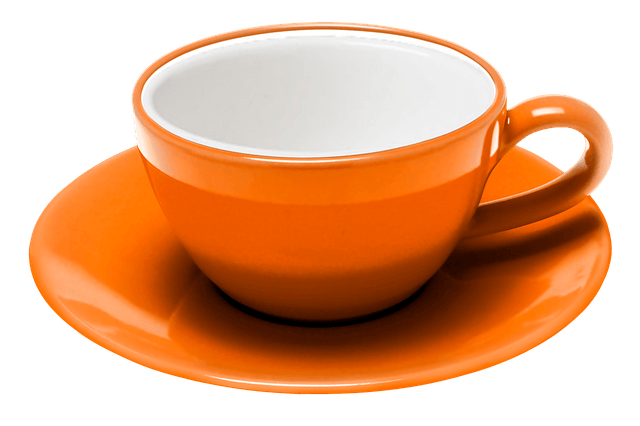
Pick a color

Blue-
Red -
Orange -
Green
In this tutorial, I’ve used four Divi Code Modules and one Text Module (for the title of the thumbnails). Code modules are great for situations like this where you don’t necessarily want to add JavaScript and CSS globally when you only need it on one page.

Each of the sections below uses it’s own code module.
To state the obvious, before you can do this, please upload the images you’re going to use and make a note of their paths.
The HTML
There are two pieces of HTML that you’ll need for the images, the first for the main image and the second for the thumbnails.
The HTML for the Primary Image
Add the following code for the main image to one of the Divi Code Modules. The important thing to note is the ID of the image, make sure you get it right otherwise it won’t work.
The HTML for the Thumbnails
The HTML for the thumbnails is an unordered list with each image as an item of the list. You can add or remove the li rows as need be. The image tag has an onClick event which passes two arguments to the showImage function. The first argument is the path to the image and the second is the image’s Title and Alt text values. Be sure to change these to the correct path and title/alt text values you’re going to use. Now add this code to the Code Module you’re going to use for the thumbnails.
The CSS
The CSS is used to style the thumbnails so that they don’t appear as an unordered list but rather side-by-side as in the example. You can add this to it’s own Code Module.
The JavaScript
The JavaScript is responsible for changing the images when the thumbnails are clicked or pressed. The showImage function receives the two arguments you defined in the onClick events in the HTML of the thumbnails. Add this JavaScript to another Code Module.
Wrapping It Up
And there you have it, a fairly simple tutorial on how to switch images. With a little imagination you could get up to all sorts with this one. Technically, you can use fewer Code Modules but I like to separate functions just to keep things obvious in the backend. And like I said in my Typing Text Effect Using Divi Code Modules, are awesome and one of the Divi theme’s best kept secrets.
Support Divi Notes
Divi Notes started as a way to document my own WordPress and Divi web design/development journey and, to my delight, has grown to become a helpful resource to many other Divi users out there. If you’ve found Divi Notes to be useful in your journey, I’d appreciate it if you would consider supporting me using the form below.


Great tutorial. Can this be done on hover instead of clicking the thumbnails?
Hi,
I think you should be able to use any of the mouse events, you can check them all out here: https://www.w3schools.com/jsref/dom_obj_event.asp
Replace onclick=”… with the event of your choice. Let me know how it goes.
Thanks Rob,
It worked perfectly with “onmouseover”.
Thank you.
Excellent! Glad you came right.
Jak mogę zrobic kilka takich galerii na jednej stronie?
Hello, is there a way to make the main image clickable to another page? For example, all the thumbnails still change the main image to color but the main images are all clickable to another page for more info. Any help would greatly appreciated. Thanks!
This is exactly what I needed, thank you SO much!
Hi, nice tutorial! I was wondering if there was a way to make images change using a Divi image module and a Divi Button?
I made it work nicely with code modules, however I have been asked to make it work with the standard Divi image and button modules using the code from this page.
https://stackoverflow.com/questions/8783984/html-button-change-image-source
I was hoping for solution here I could use an addEventListener for the Button ID, then swap the image in a specific image module with an ID.
This is definitely infuriating. 🙁
hello.. what if i have mulitple set. this is video demo when hover the other set of image
https://drive.google.com/uc?id=17bTGRSTRkkw0Z_7oIIye2mK_LiVHjYH1
this is js that i use
function showImage(imgPath, imgText) {
var curImage = document.getElementById(‘currentImg’);
curImage.src = imgPath;
curImage.alt = imgText;
curImage.title = imgText;
}
please hope u can reply thnx
Hey RR!
I spent hours trying to find this solution. I don’t know javascript well, but I was able to tweak it to get it to work. So, in case you are still looking for this solution, or if anyone else comes across this and needs it, I created a jsFiddle that I think does what you’re looking for:
https://jsfiddle.net/lonetreedesign/y53kaw1q/2/
If you pay attention to the code, you’ll see it’s just a matter of making the IDs on the images unique as well as creating a new javascript function with unique values as well. I wish I could explain better, but I don’t know the right javascript lingo, so hopefully, if you analyze the code and see where I made changes, it’ll speak for itself 🙂
Great tutorial.. We will use this on a clients site.
We want to center align the thumbnail images but it wont work when we set the text settings to center in the divi code module for the thumbnails.. What do i miss here??