
Who hasn’t put their site through Google’s PageSpeed Insights and thought “how on earth am I going to get those images any smaller”? I know I have. Well, even though you won’t necessarily be able to satisfy Google, you can at least get your images as lean as possible and score points with both it, and your users but making a few little image optimization tweaks.
Get Your Images in Shape before Uploading
Before you get started with image compression, take a step back and make sure your images get off to a good start. Here are three things you can do to help:
- Resize them
- Name them properly
- Use the right file format for the job
Right Sizing your Images
If you’re going to use an image that only needs to be 640 x 480 pixels, resize it before you upload it. You’ll not only save on bandwidth but, if storage space is an issue, you’ll buy yourself some breathing room.
Name Your Images Appropriately
It might sound unnecessary but naming your images appropriately helps with Search Engine Optimisation (SEO). For Google and Co. to be able to make sense of what’s on your page, you should name your images according to the subject matter they relate to. For example, using an image of a recipe ingredient in a blog post about a specific recipe and leaving the file name as DSC0274.jpg means that search engines have little or no idea of what the image is. This might change in future as Artificial Intelligence improves but for now they just don’t know what to make of it. Simply rename name it according to what you want search engines to identify the image as.
Choose your Filetype
Most image editing packages will allow you to save or export your images in a variety of forms. The two most widely used formats online are jpeg and png. As a rule of thumb, if it’s a photo, save it as a jpeg, and if it’s a graphic like a logo, save it as a png. The difference in file size is often significant.
Tools for Optimizing your Images
There are a couple of routes you can take when it comes to getting your image files as small as possible without noticeably degrading their quality. There are a number of companies that offer online image optimization, and among the best are Kraken, JPEGmini, Compressor, and my personal favourite, TinyPNG.
Kraken supports JPEG, PNG, GIF (including animated GIFs) and SVG images, JPEGmini only supports JPEG, Compressor.io supports JPEG, PNG, GIF, and SVG, and TinyPNG supports PNG and JPEG.
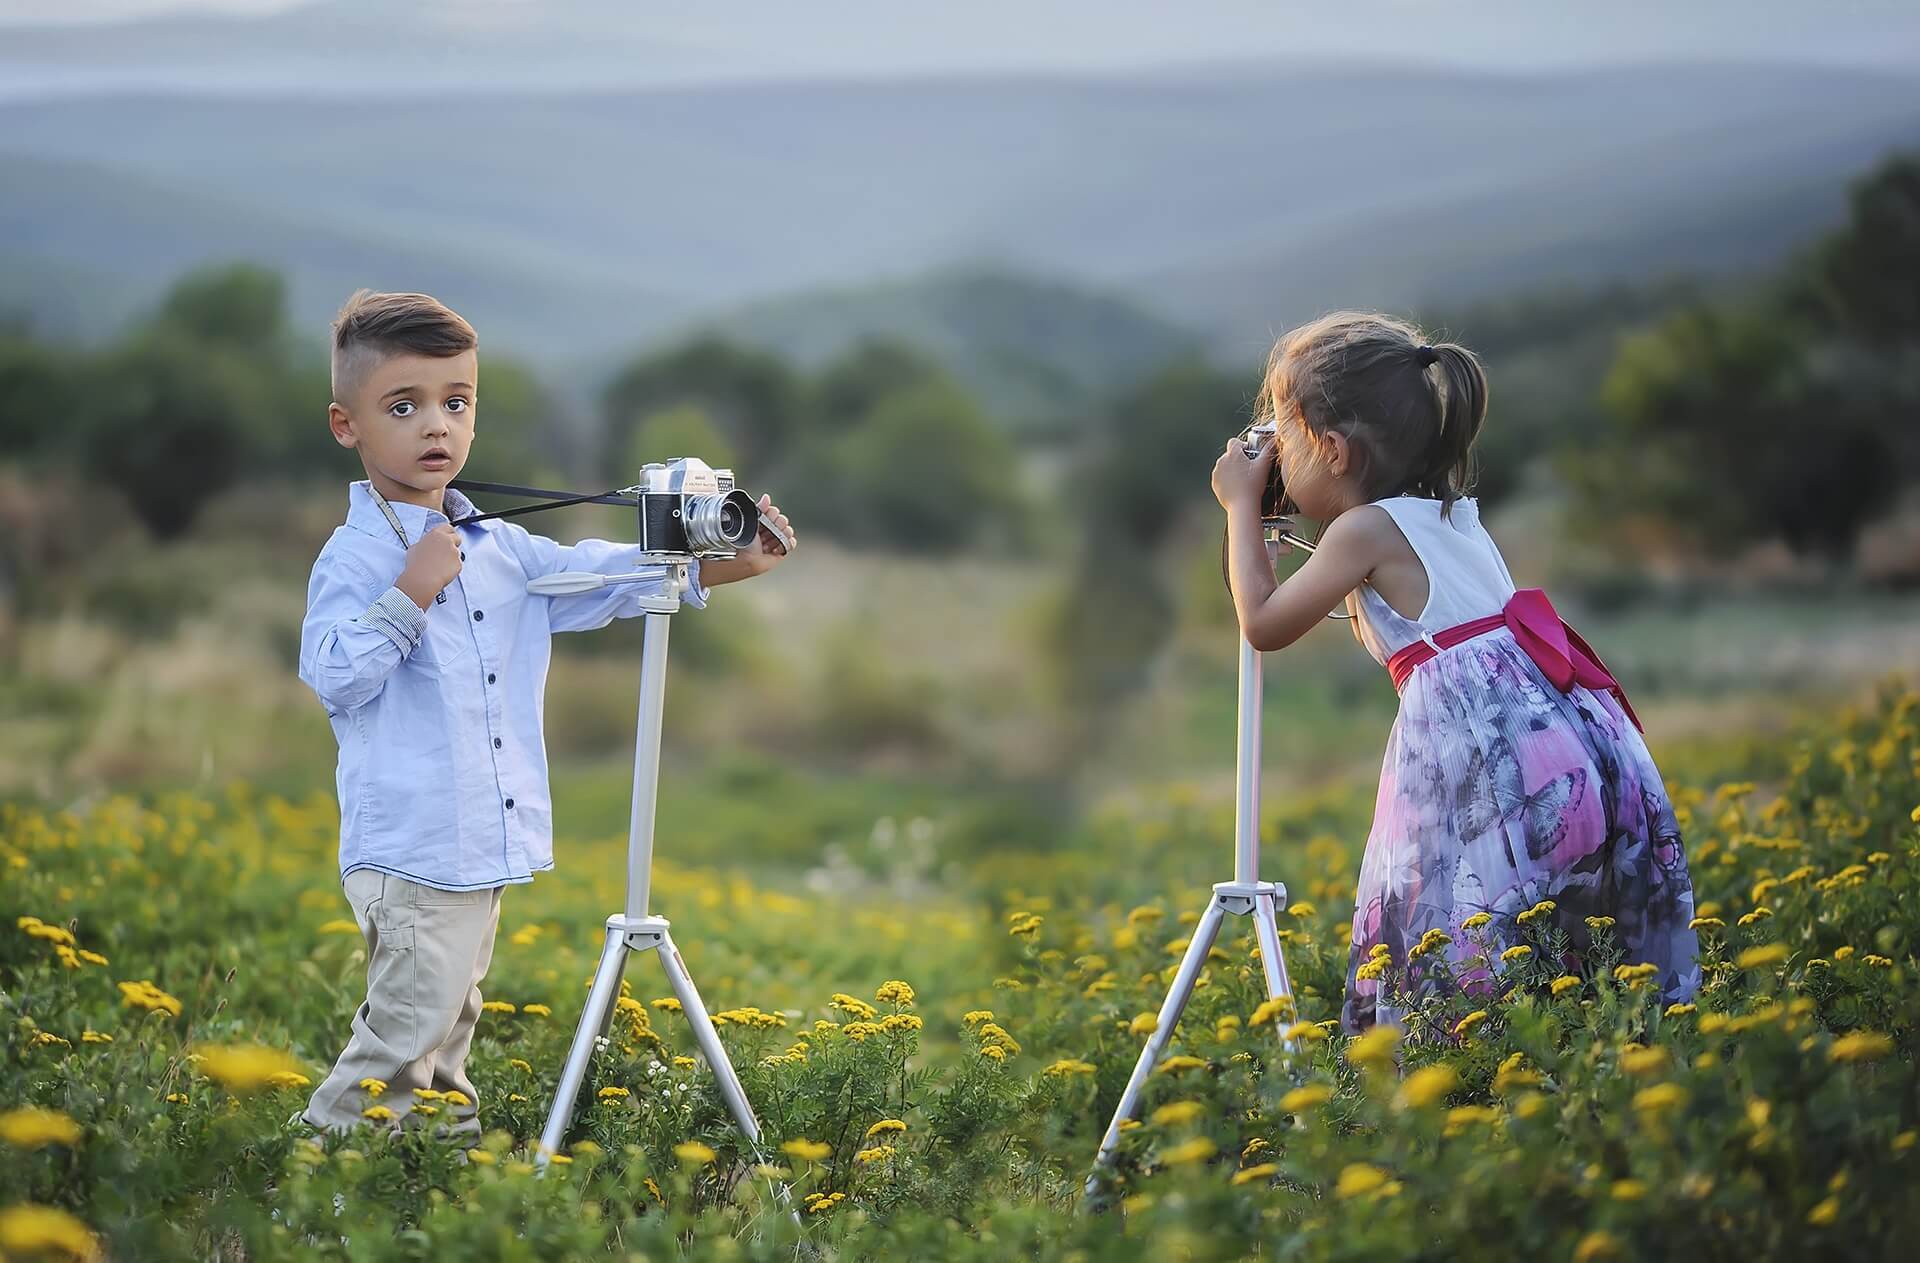
To test their compression abilities, let’s take a photo and run it through all three and compare the results. For this test, I’ve used an image from pixabay.com which has a reasonable degree of complexity.
- Kraken 37%
- JPEGMini 45%
- Compressor.io 49%
- TinyPNG 67%
As you can see from the results, by no small margin, the best compression comes from TinyPNG and to my eye the image quality is very acceptable at 188 KB. That’s 386 KB less than the original 574 KB.
Of the four tools, at the time of writing, only two have WordPress plugins. Kraken have a number of plans which all start out as a free account with a 50 MB testing quota. TinyPNG on the other hand offer 500 free compressions per month after which they charge per image. You need to remember that between WordPress and your theme, for every image you upload, a number of additional files are generated from the one you original uploaded.
Conclusion
So there you have it, a quick rundown of four good image optimization tools. The one that wins hands down for me is TinyPNG which gives a generous monthly quota and does an excellent job at compression your images. So in your endeavours to speed up your page load times, I’d definitely recommend installing TinyPNG and lose some weight on those flabby images!


Nice post, I wonder why you didn’t mention ImageOptim, thats the free Image Optimisation software for Mac users and incorporates multiple algorithms and support many file types.
I prefer using a plugin and TinyPNG works so well.
Agreed. Tools like ImageOptim are quick AND they will compress files MUCH FASTER than if you were to use a plugin like Kraken for example. Less clutter on the website that way, and all you have to do is literally “select all” >> “Optimize” >> Transfer to site. Cherry on Top: Because they are smaller in size, the time taken to upload will be faster.
Hi, what is the best size for feature image in Extra ellegantthemes blog post?
thanks
Hello, I normally upload my featured images at 1920px wide and depending on the blog post, I don’t really worry too much about it’s hight. I haven’t been able to find recommended dimensions on the Elegant Themes website but scratching through their support, there are various opinions.
In case you haven’t see it, Elegant Themes have posted an article called The Ultimate Guide to Using Images within Divi. It’s not Extra but I’m sure it’ll still be helpful.
Thanks for the info. I read the article on Divi images and saw that on a blog a featured image needs to be at least 795 in width which is fine. I set all my featured images to 795×450 but the height on a laptop is too high. It looks fine on mobile. I am looking at the image you have at the top of this post and that height looks great. Properties show your image at 899×499 which would mean my sizing is right. Any idea why my height is very tall on my laptop? It takes up so much room you have to scroll a bit to get past it.
If you go in Media library on say my Urthbox featured image it says
File name: urthbox.jpg
File type: image/jpeg
Uploaded on: June 11, 2017
File size: 62 KB
Dimensions: 795 × 450
But if you look at the featured image and check properties on the site it says 944×534
Does Divi auto adjust to a certain height? Any suggestions?
Thanks!
Hello Heather,
Can I have a look at the post you’re referring to? I’ve had a look at one of them but the image size doesn’t match up to what you’ve said here.
Cheers,
Rob